First of all, see the movie “Chef.” It’s my favorite movie this year and it may easily be yours. Then I challenge you to ignore your overwhelming craving for the roast pork they make for their cubano sandwiches. I certainly couldn’t, and had to get to the bottom of that delicious-looking roast. Apparently Roy Choi created the original recipe for the movie, but I delved a little deeper into other options, getting some direction from a website evocatively titled Three Guys from Miami. Sorry, Chef Choi!

Adorable father-son bonding movie with food as its love center — what could be better?
Roasted pork is so succulent and flavorful that I have been moved to declare this my year of pork. Many cuisines around the world make such good use of pork, and just focusing on roasted options would achieve my goal. There are carnitas and cochinita pibil, and in our own country, pulled pork, prepared in a variety of styles. Yes, a year of roasted pork will go down nicely.
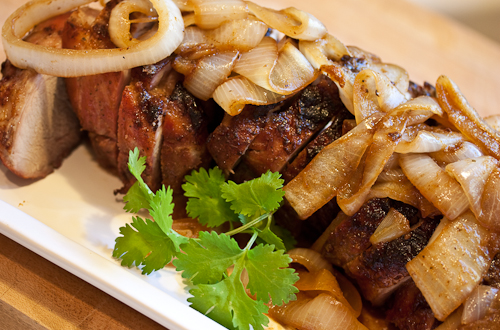
Big rounds of onion, sauteéd in the pan drippings and coated with mojo, make a beautiful and tasty presentation
Cuban Mojo-Marinated Pork Roast | 6 servings
The mojo is the whole deal — it’s both a marinade and a sauce, packed with a delicious sour, herbal, garlicky punch. You’ll just want to spoon it on everything, and when you make the Cuban black beans and rice to go along with the pork, you’ll spoon it on those, too.
3 1/2 to 4 pound boneless pork butt or shoulder
2 tablespoons salt
2 large onions, sliced in thick rounds (for the second day)
For the mojo:
1 1/3 cup sour (Seville) orange juice or 1 cup fresh orange juice plus 1/3 cup fresh lime
juice (6 to 8 limes)
1 tablespoon olive oil
1/4 cup fresh cilantro leaves
1 heaping teaspoon dried oregano
1 heaping teaspoon ground cumin
1 teaspoon salt
1/2 teaspoon black pepper
15 garlic cloves, peeled
The day before, prepare the mojo (the pork will marinate in the mojo overnight). Stab the pork all over, making deep slits in 8 to 10 places. Rub the 2 tablespoons of salt all over the pork, and tie with string to contain loose sections if needed.
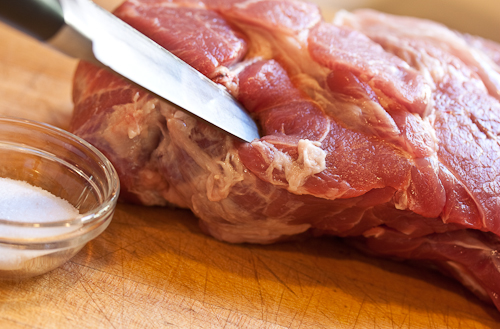
Deep slits, and rub the salt into the slits
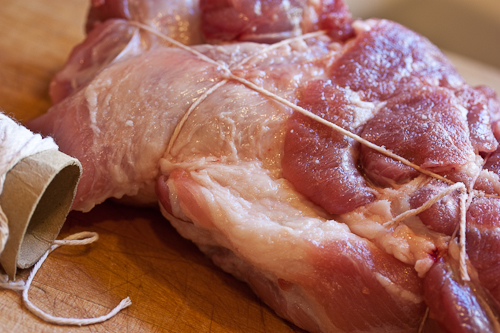
Just a few simple wrap-arounds with string to hold the loose ends in place, but only if needed
Put all of the mojo ingredients in a blender or food processor and liquefy.
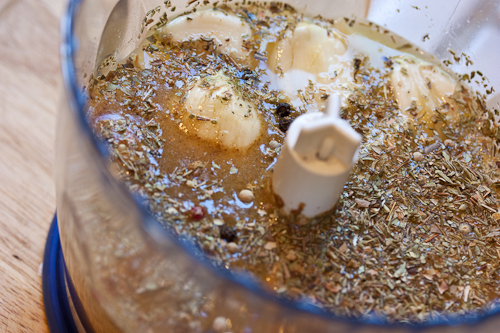
I used a small food processor but switched to a blender to really get it pureéd
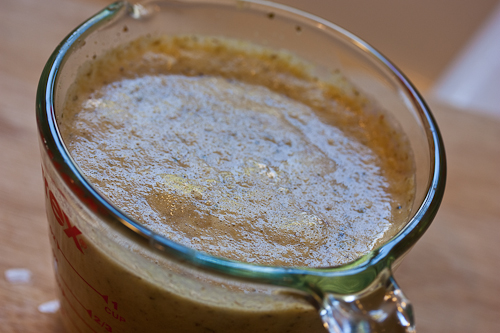
You’ll end up with about 1 1/2 cups of mojo
Reserve 3/4 cup of mojo and put it in the refrigerator. Pour the remaining mojo over the pork, working it into the slits. Marinate the pork in the refrigerator overnight in either a tightly covered glass bowl or a zip lock bag.
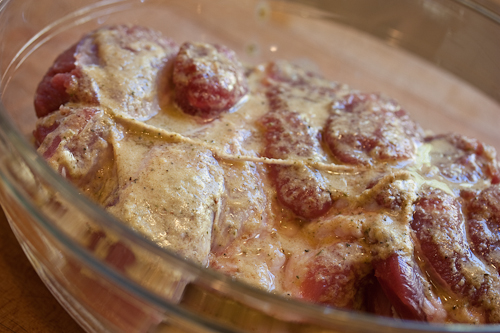
Cover the top with plastic wrap or put the whole roast into a zip lock bag and squeeze out the air
The next day, remove the pork from the refrigerator about an hour before cooking and let it come to room temperature, leaving it in its marinade.
Preheat the oven to 450°F. Place the pork in a roasting pan, fat side up. Pour the leftover mojo marinade into a small bowl. Use this marinade to baste the pork as it cooks, making sure to discard any that is left over at the end of cooking (it has been in contact with raw meat and is not consider safe to eat without cooking).
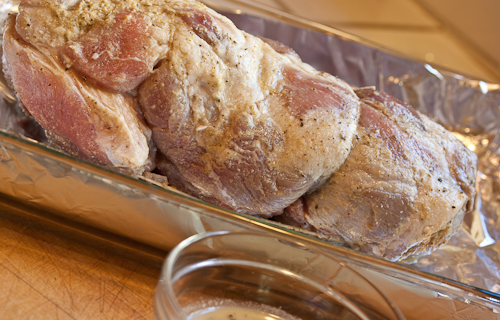
I like to line the pan with foil for easy cleanup but you’ll need to scrape the pan drippings out with a scraper
Cook the pork for 20 minutes at 450°F and reduce the heat to 325°F for the remaining cooking time, about 3 hours depending on the size of the roast. Drizzle a spoonful or two of the leftover marinade over the pork a few times as it cooks. The internal temperature of the roast should be above 170°F, and the juices will run clear.
Remove the pork from the oven and place on a platter. Cover it with a foil tent and allow it to rest for 15 minutes or so. Meanwhile, scrape the pan drippings and some of the crusted bits into a large skillet. Heat the drippings over medium high heat and cook the onion rounds until they are browning and caramelizing, about 15 minutes. Using the reserved mojo from the refrigerator, add 1/4 cup to the onions and cook until heated through, about 5 minutes.
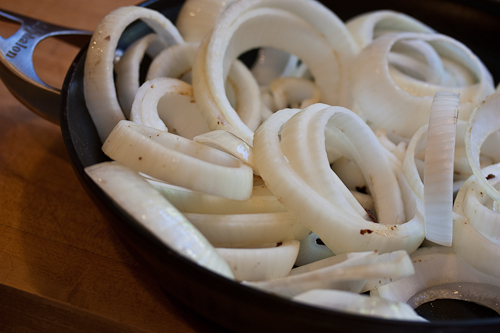
They start out a bit oversized for the pan but they will cook down!
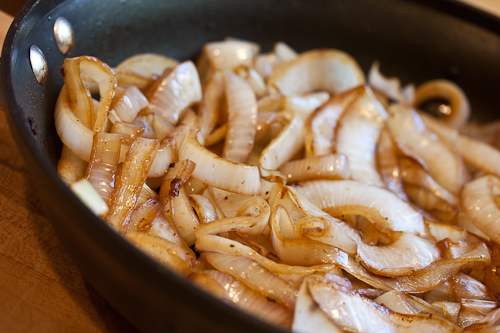
A deepening caramel color gives the onions a nice, sweet flavor
Slice the pork across the grain into thick pieces, and serve with the onions on top. The reserved mojo can be passed at the table.
And tomorrow you will make a cubano, and maybe even tweet about it!
Kelly McCune © 2014
{ 2 comments }